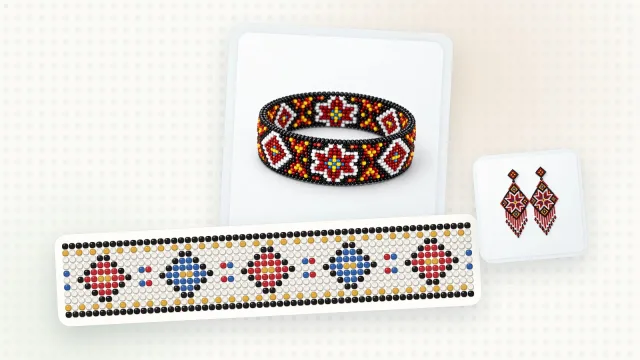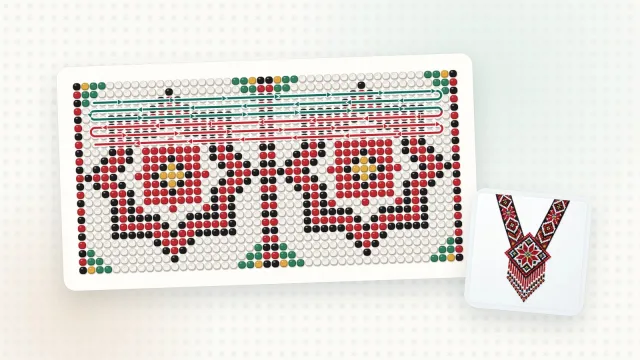
A favourite picture, a portrait or an ornament can become a pattern for a gerdan (a Ukrainian beaded necklace), a bracelet or a panel. Biser Studio has a wizard for this, “Create a pattern from an image”: five steps, and your pattern is ready with its colours and bead counts. The photo is processed right on your device and is not sent to a server.
Step 1. Choose an image
Pictures with clear outlines and good contrast work best: flowers, birds, ornaments, portraits on a light background. PNG, JPEG or WebP up to 20 MB will do.
Step 2. Crop
Keep only what matters in the frame. The fewer small details near the edges, the cleaner the pattern.
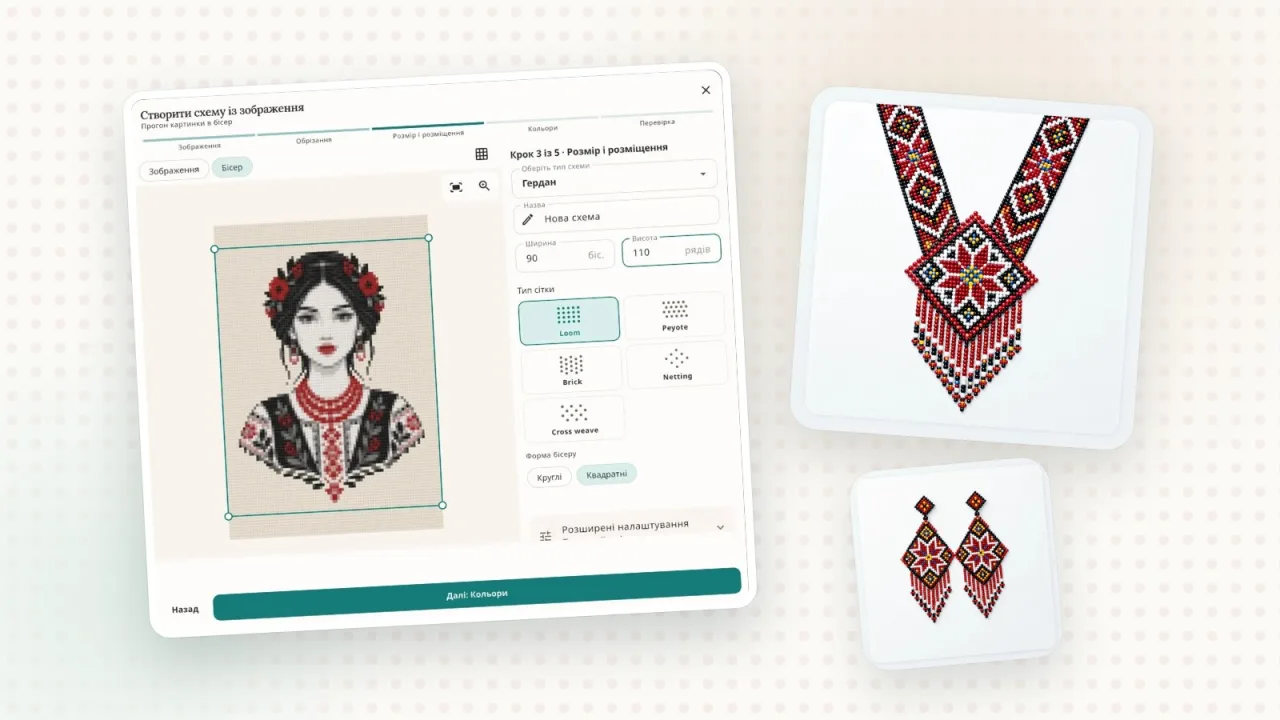
Step 3. Size and grid type
Choose the piece — a gerdan, for example — set the width in beads and the height in rows, and pick the grid type: Loom, Peyote, Brick, Netting or Cross weave. This is also where you choose the bead shape: round or square.
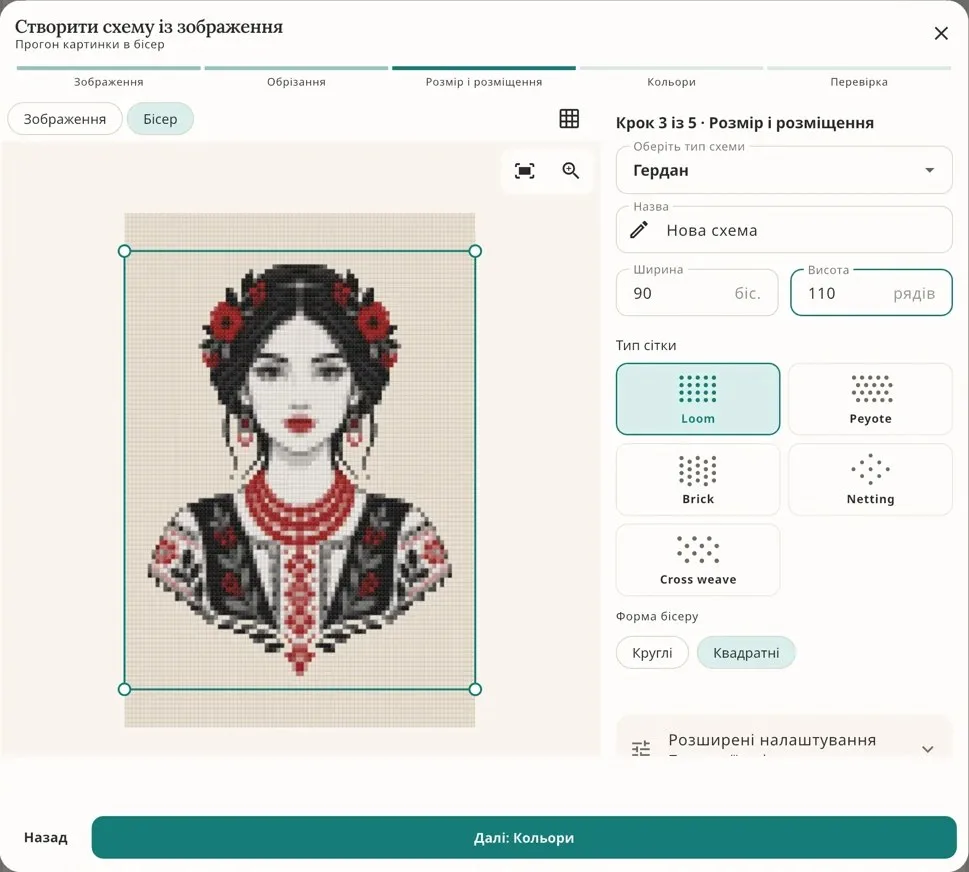
A bigger pattern holds more detail, but it also takes more beads and more time. For a first try, choose a moderate size.
Step 4. Colours
You can take colours from the image — the editor finds the nearest shades of real beads — or use your own palette or the palette of the current pattern. Dithering softens transitions but adds small clusters of beads and makes beading harder, so for crisp ornaments keep it at 0%.
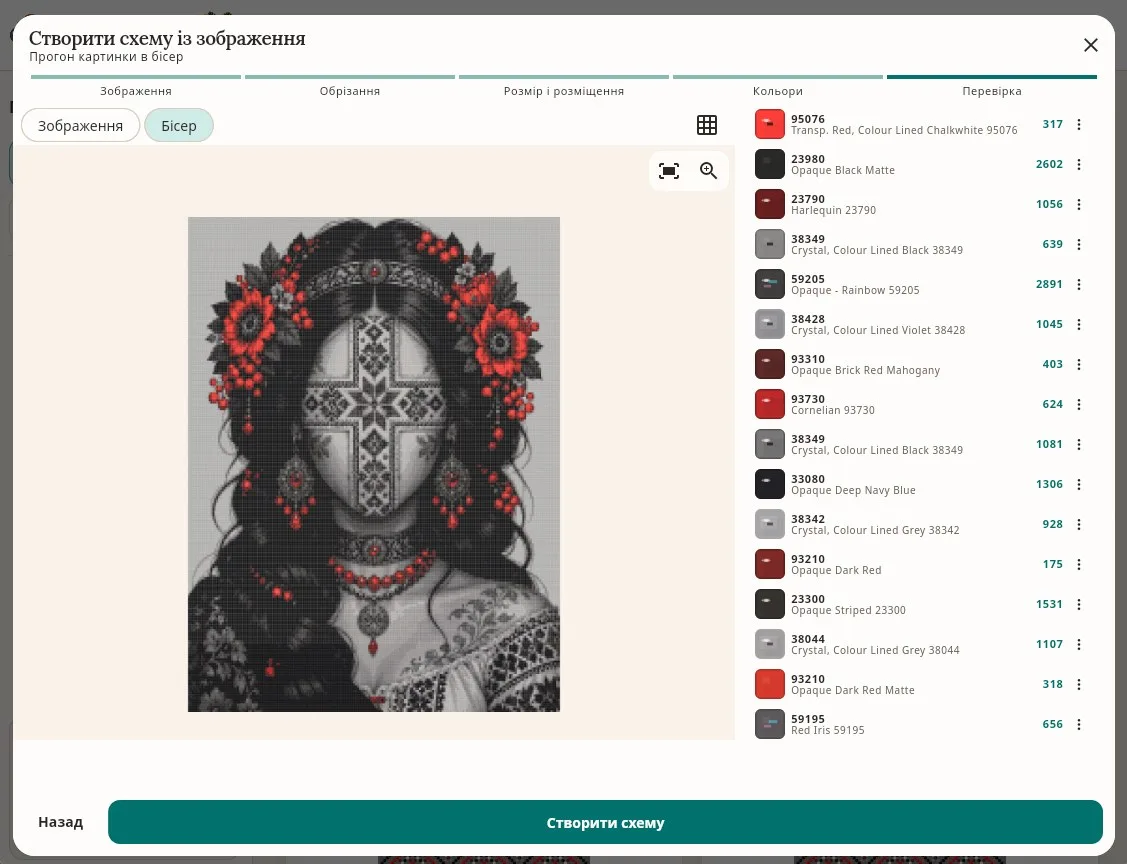
Step 5. Review
Switch between “Image” and “Beads” to see how the picture will look in beads. Next to it is the list of colours with their codes and how many beads of each you need. If you don’t like a colour, replace it by hand, then press “Create pattern”.
A few tips
Raise the contrast of the picture before uploading: subtle shades merge into one blot.
Real beads can look different from the screen, so bead a small test piece first.
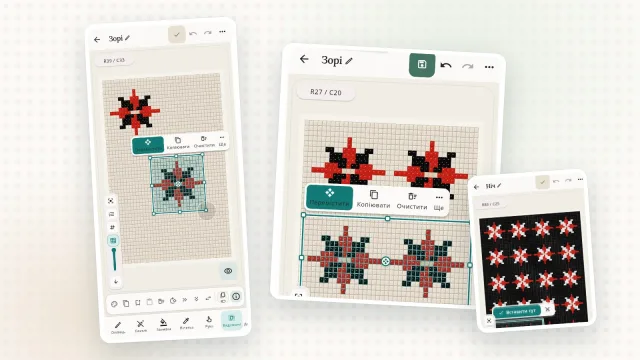
Once the pattern is created, you can refine it in the editor: fix single beads or change colours.