A bracelet is the perfect first project: a small pattern, quick results and plenty of room for imagination. Here’s how to make a beaded bracelet pattern in Biser Studio so the ornament repeats evenly and the bracelet fits your wrist.
The “Bracelet” template
Tap “Create pattern” and choose “Bracelet”. It’s a long, narrow band for a straight repeating ornament; by default it starts with a regular grid, as for loom weaving. If you work in brick stitch or peyote stitch, pick a row or column shift under “Grid type”.
Width and length
Width is set in beads and length in rows. To get the size right, weave a 2–3 cm test swatch with your beads and count how many rows you get per centimeter. Then it’s simple: take your wrist measurement plus a little extra, subtract the length of the clasp and multiply by the number of rows per centimeter.
You can resize the pattern later, but it’s easier to set the length you need from the start.
Motif and repeat
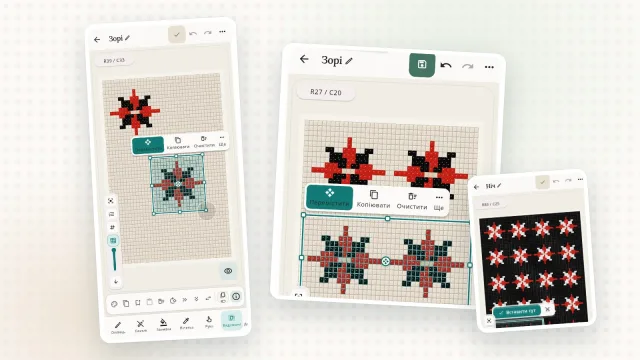
Draw one motif — a diamond, a flower or a star. Then select it together with the gap before the next one, and in the “More” menu choose “Repeat right” or “Repeat down”, depending on which way the band runs. The editor continues the design onto matching positions, and all the motifs come out identical.
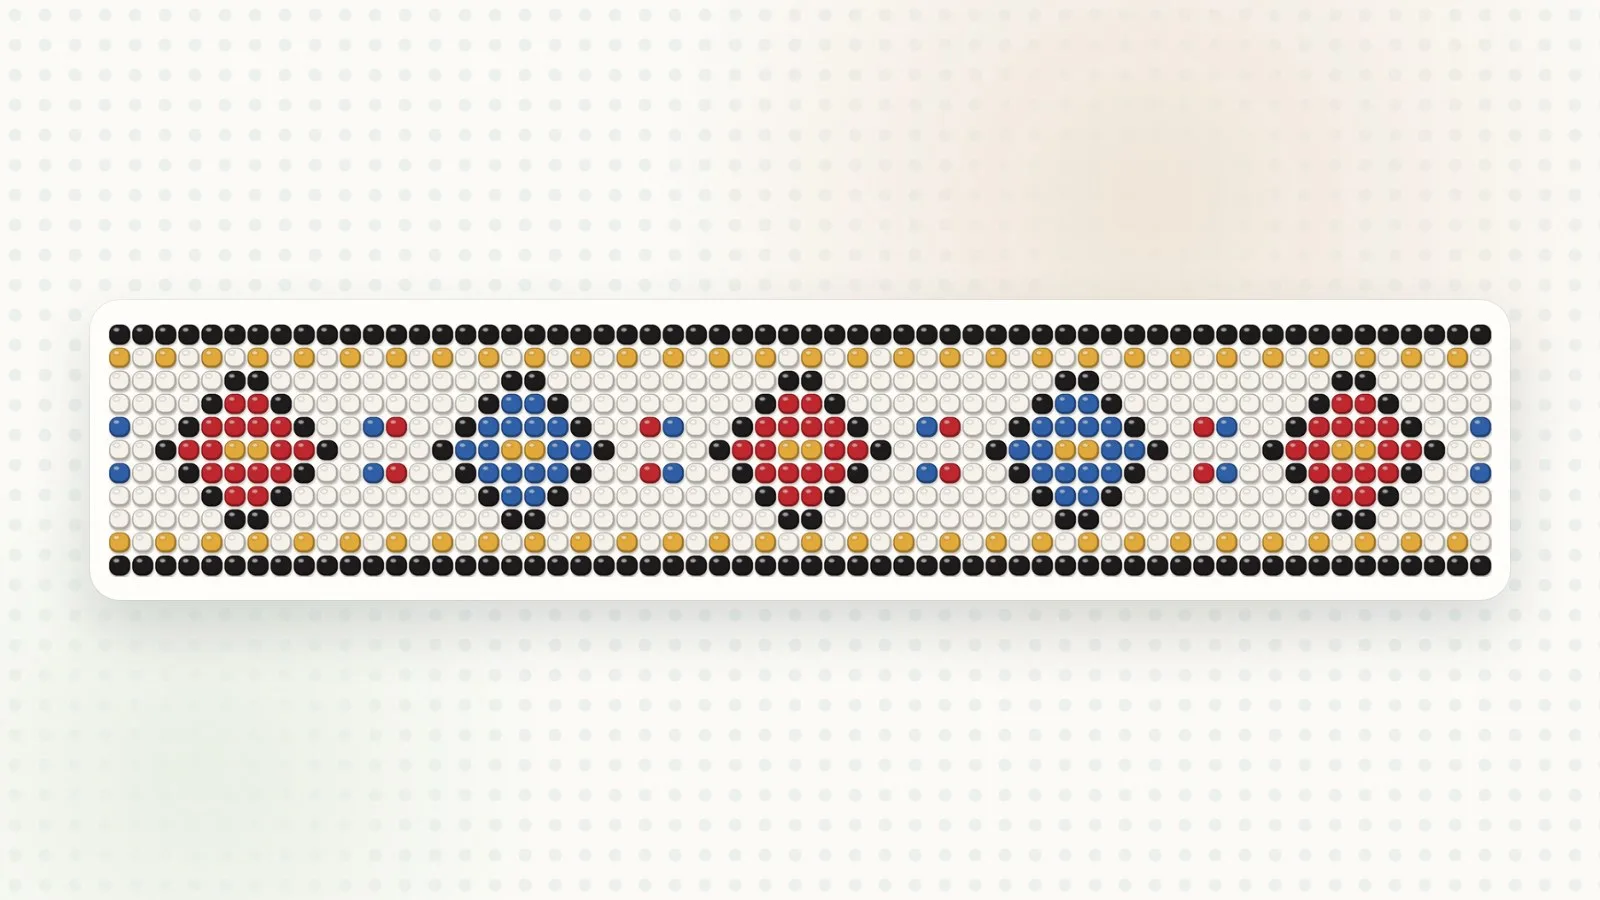
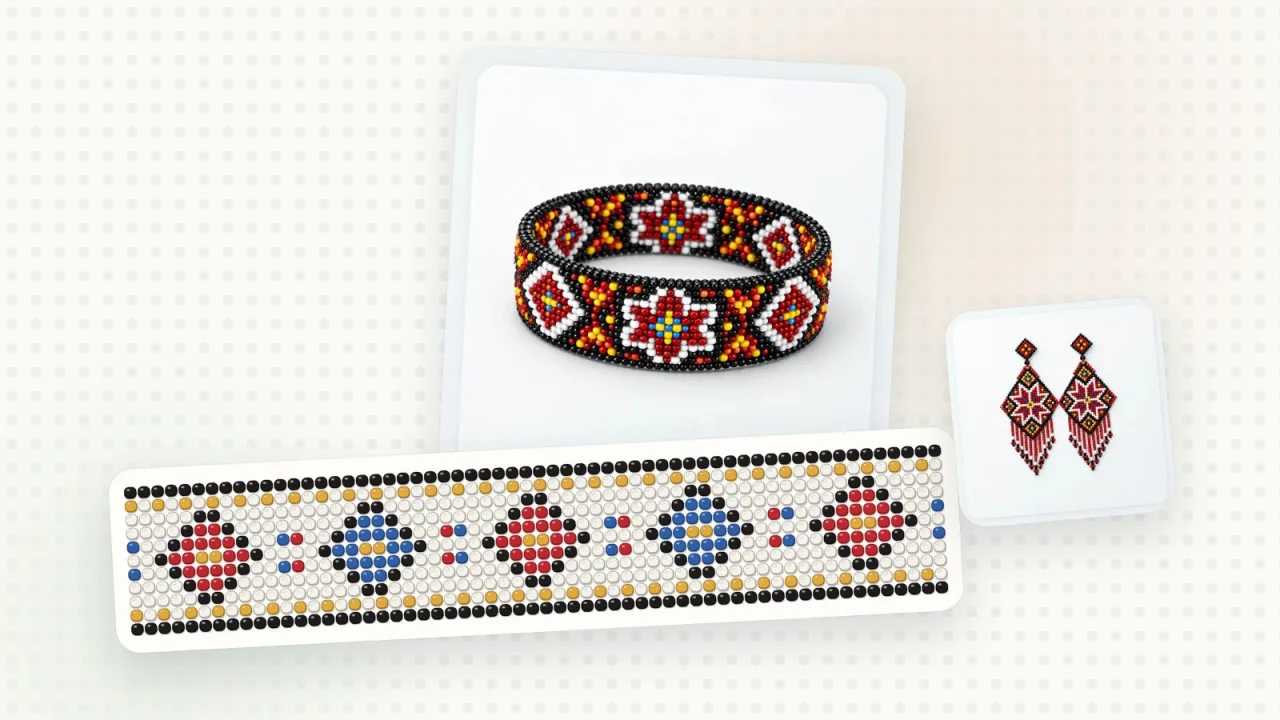
To make the motifs alternate colors like in the picture, run the repeat first, then change the colors in every other motif.
Ornament ideas
Diamonds and zigzags — a classic that looks good in any colors.
Flowers all turned the same way — when you want a sense of movement.
Stripes of different widths — the simplest bracelet for a first try.
The clasp
It’s worth choosing the clasp before you work out the length: magnetic, a button and loop, or ties — each one takes up its own few millimeters. You can weave the button and loop from the same beads.
Colors
For a bracelet, 3–5 colors work well. Pick them in the “Bead catalog” by manufacturer code — then your bead list will match exactly what you buy. A contrasting border along the edges makes the bracelet look neater.
Checking and weaving
“Product view” helps you see the band as a finished piece of jewelry.
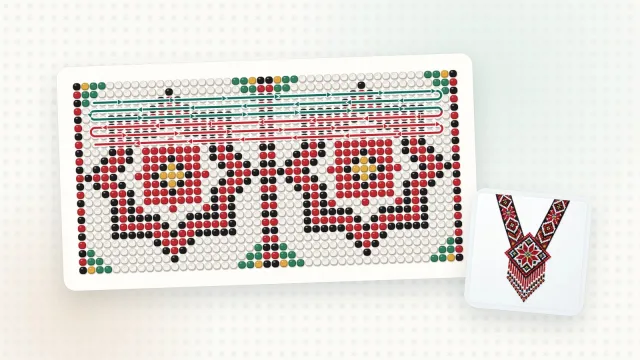
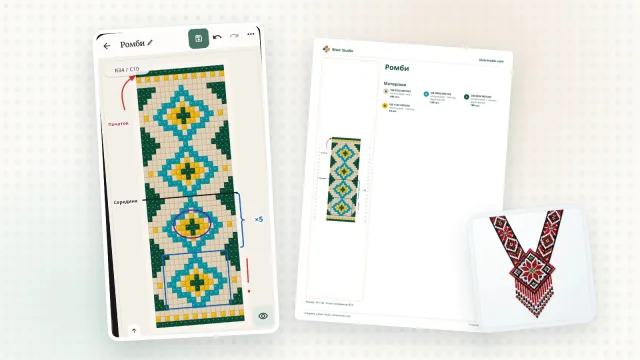
“Materials” has the bead list with the amount of each color.
“Weaving mode” guides you row by row.